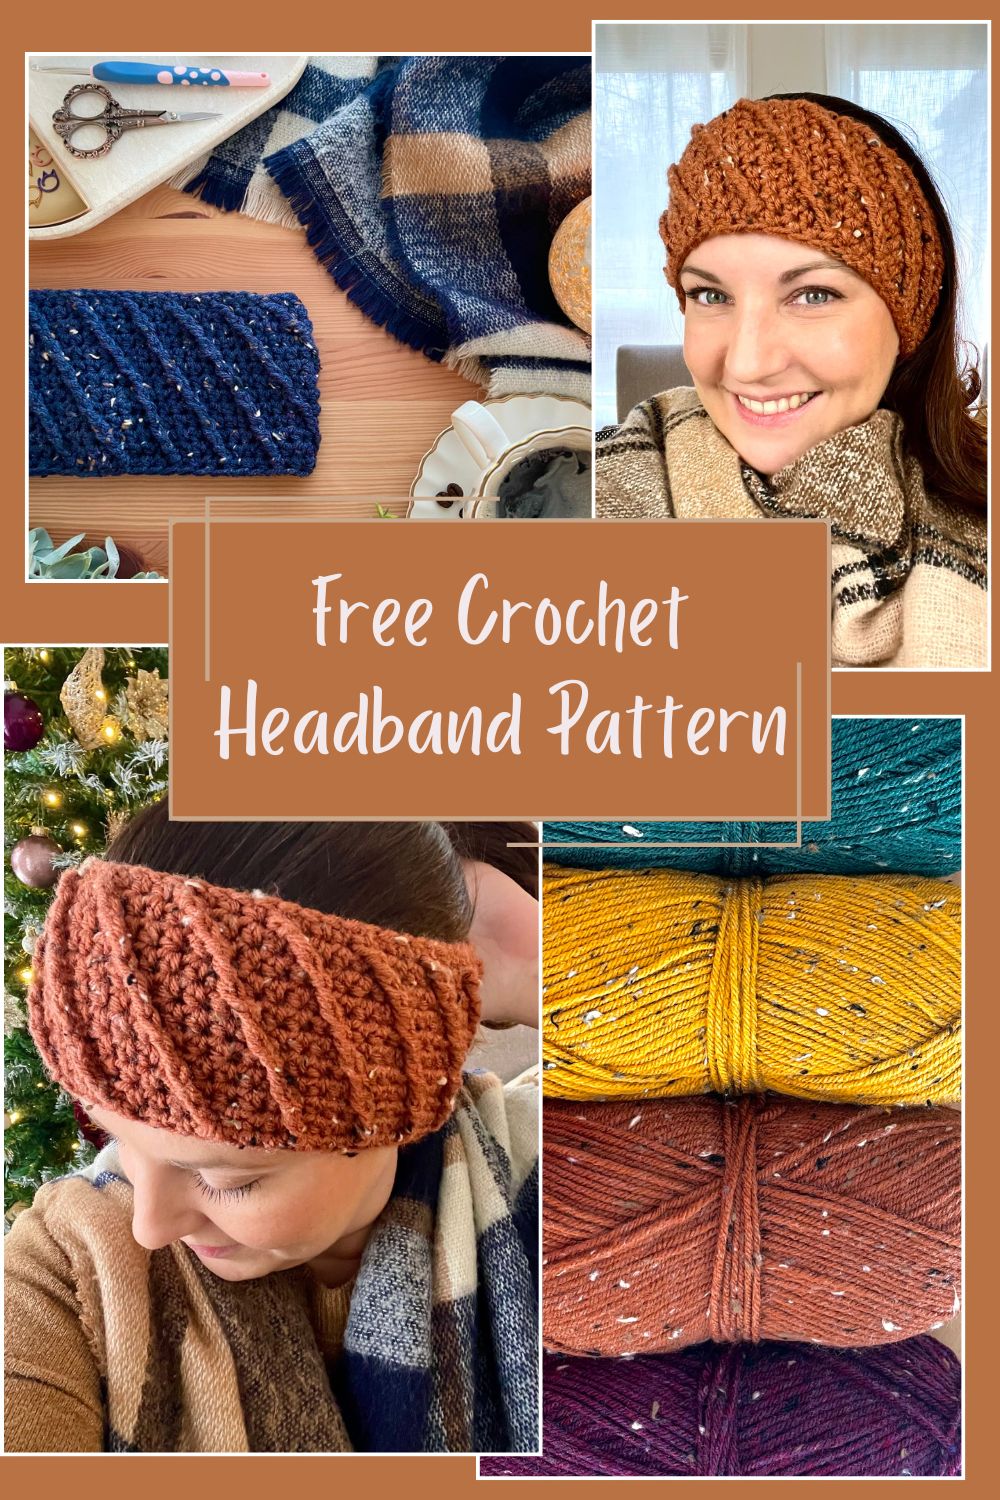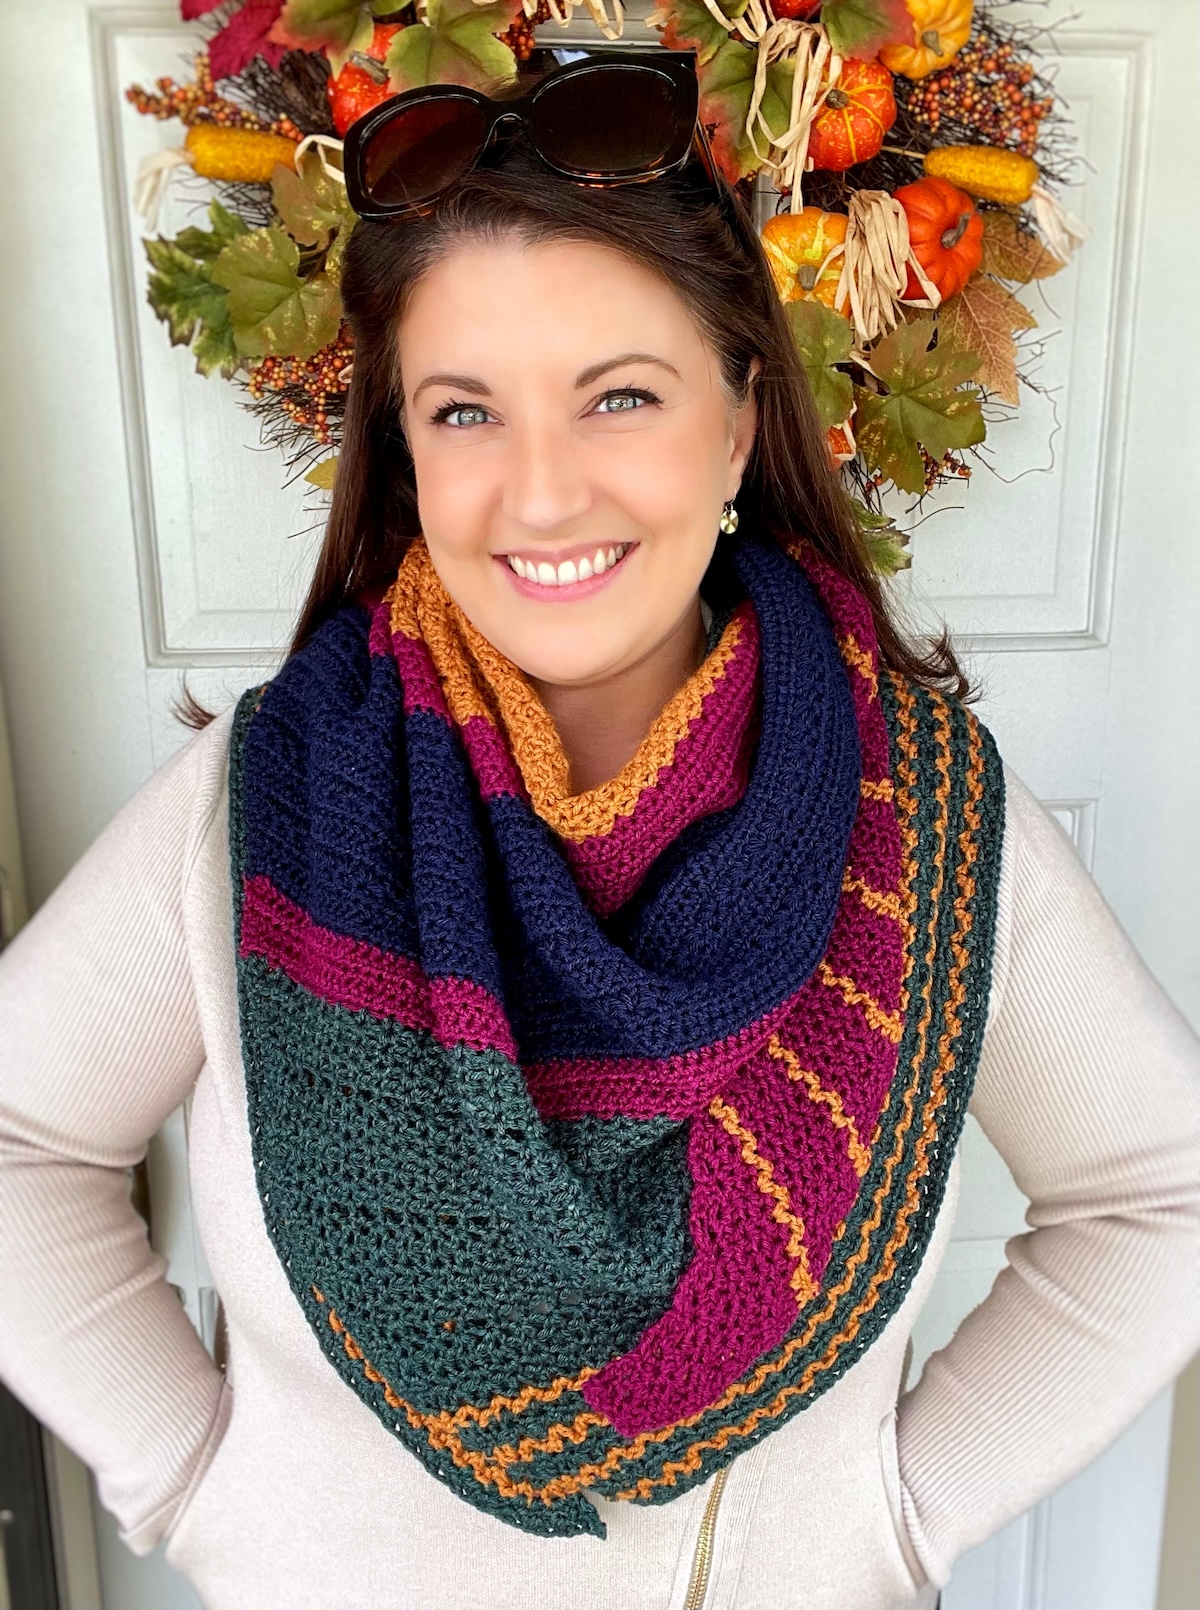

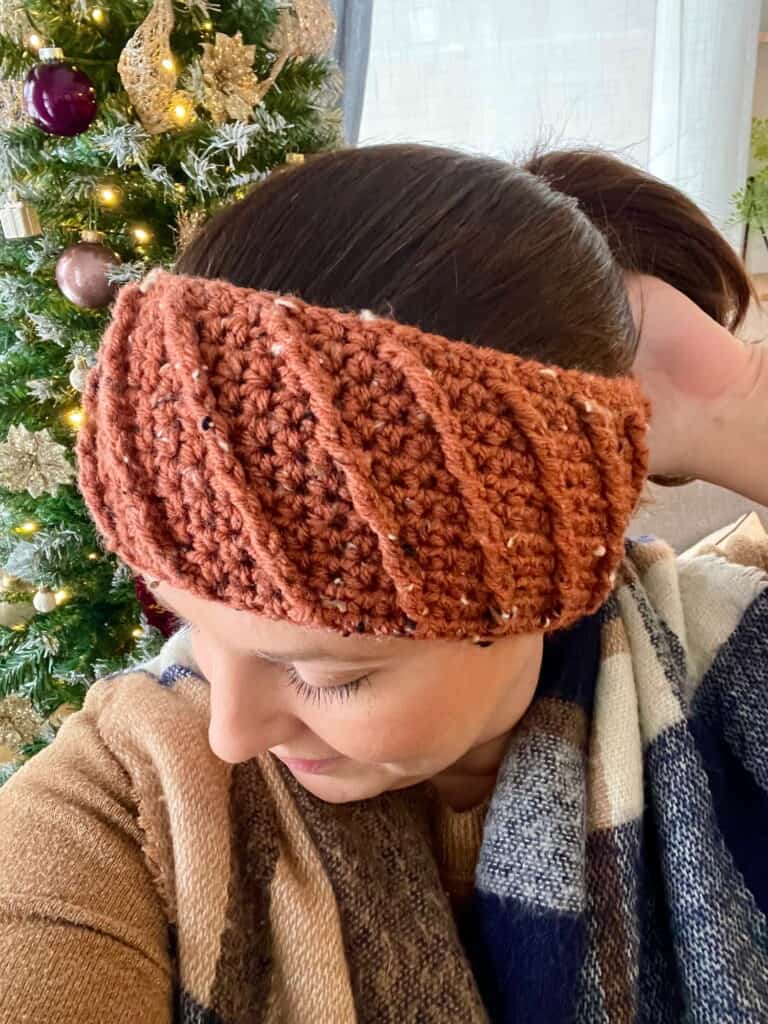
Cable Swirl Crochet Headband – Free Pattern
Crochet Headbands are the unsung heroes of cold-weather accessories. They’re warm, but not bulky. Practical, but still stylish. And most importantly, they guarantee you’re not going to ruin your hairstyle! This crochet headband was designed for those moments when you want to keep your ears warm but still look put-together and avoid the dreaded hat-hair when you finally get back inside. Whether you’re going out for a winter stroll, battling the elements on the school run, or just popping out for a warm drink with friends, this crochet ear warmer has your back. (Or, your ears at least.)
*Disclosure: This post contains affiliate links to support the running of this blog. Please see my Privacy Policy for full details. Thank you for supporting Tales of Knots!
The Design
The Cable Swirl Crochet Headband brings a touch of texture and visual interest whilst still being quick and simple. It looks fancy, feels cosy, and is refreshingly beginner-friendly, even if crochet cables often look intimidating. Best of all the pattern is free, so you can dive straight in without over-thinking it!
This Crochet Earwarmer design is worked in the round using stretchy foundation stitches to start, which means no tight edges while trying to pull it over your hairstyle. The diagonal swirl cable pattern has a unique construction which creates beautiful texture without the normal gaps you often see with crochet post stitches, while remaining approachable for anyone new to crochet cables. The repeat is simple and predictable, the kind of pattern you can memorise quickly and then work up quickly in front of your favourite show in an evening. A final round of decreases helps the design sit snugly over the ears without feeling bulky or catching on your coat collar or scarf.
And the best part: the open-top design of crochet headbands allows you to wear your hair up or down, making it a brilliant alternative to full hats that squash volume or ruin your curls or buns!
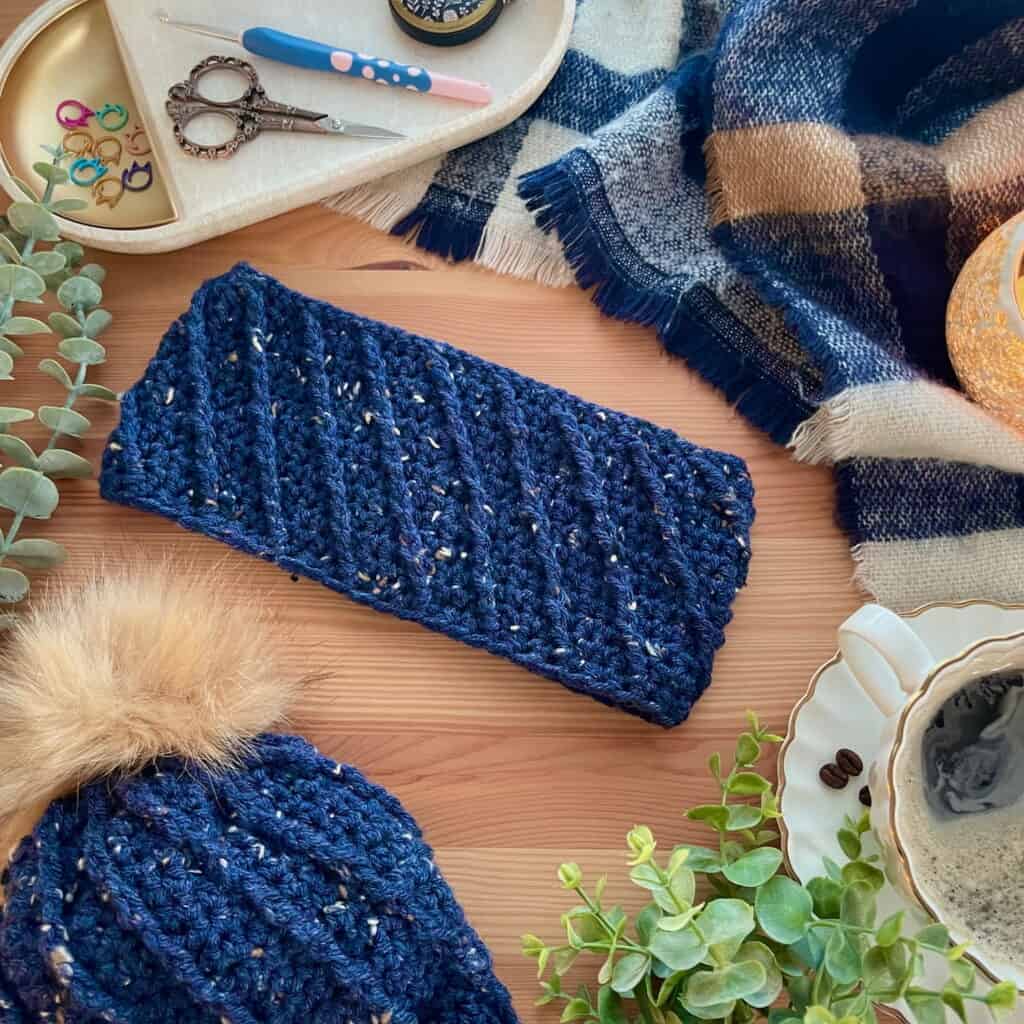
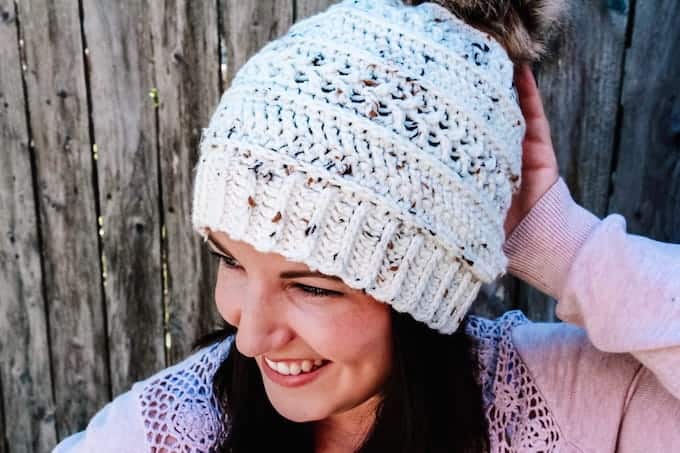
If you love a coordinated moment and full hats too, this headband is perfectly designed to match the Cable Swirl Beanie. The stitch pattern, yarn, and texture are the same between the two, making it easy to create a cohesive set for yourself, the whole family, or as a gift set. Whether you love matching your family and kids, or just want to have options, the beanie and headband work beautifully together whatever your preference for that day.
Supplies
The Cable Swirl Headband is made using Brava Tweed Worsted yarn from We Crochet, a #4 weight soft, durable, acrylic yarn with lovely flecks of colour in the tweed that add depth to the cable texture without overwhelming it. It’s budget friendly, easy to care for and widely available in multiple colours, making it an excellent choice for a pattern you’ll reach for again and again. If you’d like to substitute yarns, look for a worsted weight yarn with good stitch definition and a touch of stretch. The alternatives listed below are all great options. Smooth (not too fluffy) or heathered yarns will show off the textured stitches the best, but don’t be afraid to experiment. As always, just make sure you check your gauge when substituting yarns.
Other Yarn Options:
Yarn Used:
Sizes and Finished Measurements:
Newborn (Baby, Toddler, Child) (Teen, Adult, Adult Large)
To fit actual head circumference: 13-15 (16-18, 19-20, 20-21) (21-22, 22-23, 23-24)”
Yardage:
55 (72, 76, 98) (103, 127, 153)yds
25 (33, 35, 45) (47, 58, 70)g
Crochet Hook:
US H-8 (5.0 mm) Crochet hook, or size needed to meet gauge. I use these Dots Crochet Hooks from We Crochet
Notions:
Stitch Markers (x2)
Scissors
Tape Measure
Tapestry Needle
Skill Level:
This is designed for a skill level of ‘Easy’ and is suitable for adventurous beginners and up. It assumes comfortable knowledge of basic stitches, with written instructions provided for special stitches.
Gauge:
16 sts x 12 rounds = 4 x 4 in (10 x 10 cm) in hdc, unstretched.
Reasons You’ll Love This Crochet Headband
- Beginner-friendly Crochet Cables
- Worked in continuous rounds
- Sits comfortably without bulk
- The style allows for ponytails, buns, curls, or other hairstyles
- 7 sizes included, from Newborn to Adult Large
- Quick to work up, making it perfect for last-minute gifts or quick projects
- PDF includes charts, written instructions, directions for customising to different yarn weights, and photo tutorials for stitches used
Pattern Details
Abbreviations:
ch(s) = chain(s)
dec = decrease
Fhdc = Foundation Half Double Crochet – see Special Stitches
FPtr = Front Post treble crochet – see Special Stitches
Fsc = Foundation Single Crochet – see Special Stitches
hdc = half double crochet
hdc-dec = half double crochet decrease – see Special Stitches
RS = Right Side
sc = single crochet
sk = skip
sl st = slip stitch
st(s) = stitch(es)
yo = yarn over
Special Stitches:
Foundation Single Crochet (Fsc): (To start) Ch 2, insert hook in back bump of second ch from hook, yo, pull up a loop. Yo, pull through 1 loop (ch made), yo, pull through 2 loops (sc made).
Foundation Half Double Crochet (Fhdc): *Yo, insert hook in ch of previous foundation st, yo, pull up a loop. Yo, pull through 1 loop (ch made), yo, pull through 3 loops (hdc made); repeat from * until required number of Fhdc have been made.
Front Post Treble Crochet (FPtr): Yo twice, insert hook around post of indicated st from the front, yo and pull up a loop, (4 loops on hook), yo and pull through 2 loops, (3 loops on hook), yo and pull through 2 loops, (2 loops on hook), yo and pull through last 2 loops.
Half Double Crochet Decrease (hdc-dec): (This is a hdc and sc worked together over 2 sts): Yo, insert hook into st, yo and pull up a loop, (3 loops on hook), insert hook into next st, yo and pull up a loop, (4 loops on hook), yo and pull through all 4 loops. Dec of 1 st.
Pattern Notes:
Pattern is written in US crochet terms.
Instructions following an asterisk * are repeated around.
Ensure stitches behind post stitches are worked into, in order to ‘float’ the post stitches on the front of the work. The post stitches are skipped on the subsequent round, pushing them to sit in front of the other stitches.
The Headband is worked from the bottom up. The last round decreases the stitch count slightly to better fit the shape of a head.
The pattern is worked in continuous rounds; do not join at the end of each round but simply continue working directly into the first stitch of the previous round.
Please note: the beginning of the round will gradually move backwards as you work up the pattern. This is normal when working in continuous rounds.
Directions are written for the smallest size first, with the larger sizes following in parentheses as follows: Newborn (Baby, Toddler, Child) (Teen, Adult, Adult Large). The decrease is written out separately, based upon which round you finished the Headband on.
Instructions for customizing the pattern for different sizes or yarn weights, including replacing the first round of foundation stitches with a chain round, can be found in the full pattern PDF.

FAQs:
Q: Can I customise this headband for different yarn weights?
Yes! Full instructions are provided in the full pattern PDF available for a small fee in my stores.
Q: Is this pattern suitable if I’ve never tried cables before?
Absolutely. This pattern is specifically designed to be an introduction to cables in crochet, but without the holes that traditional cables usually leave, making sure the project still stays nice and warm! The PDF version of the pattern contains photo tutorials so you can make sure you’re getting it right as you go.
Q: Can I adjust the width or length easily?
Yes. To adjust the width of the headband, increase or decrease the stitch count in multiples of 4. To add height, continue working as many rounds as desired following the established 8-round pattern repeat of rounds 3-10, before moving to the decrease round. Ensure you follow the correct decrease round based on the round you finished the headband on.
Q: Will this work for thick hair?
This headband is particularly suited for thick hair as you can make it as wide as you like so that it sits comfortably over your ears without pressing down on the rest of your head.
Q: Can I sell finished items made from this free crochet pattern?
Of course! I ask that credit be given to Tales of Knots for the original design, and any photos used must be your own work. Any copying, alteration, or distribution of the physical pattern however is prohibited.
Join the Community Group:
If you have questions about this crochet headband, want help with the pattern instructions, or just enjoy hanging out with other crocheters, I’d love to invite you to join Creative Confident Crocheters Facebook Group. It’s a supportive, encouraging, space where you can ask questions about this design (and others), share your progress, and celebrate finished projects without judgement. Whether you’re brand new to crochet or confidently free styling everything, you’ll find community, inspiration, and plenty of “thank goodness it’s not just me” moments!
Cable Swirl Crochet Headband – Free Pattern Instructions
Setup
Round 1: Fsc 1, Fhdc 51 (55, 59, 63) (67, 71, 75). Without twisting, bring beginning of round to meet working end, do not join or turn.
(52 (56, 60, 64) (68, 72, 76) sts)
Notes/Reminders as you get going:
Mark beginning Fsc as first st of the round, move up each round.
Place second (optional) marker in first Fhdc made (second st of the round) to help identify first FPtr placement for next round if needed (Round 2).
Begin working directly in top of the first Fsc in order to start working in continuous rounds.
Do not sk working the sts behind the post sts in even-numbered rounds as the post sts are additional sts. They are skipped over in every odd-numbered round.
Body of Headband
Round 2 (RS): Hdc in each of first 4 sts, FPtr diagonally backwards around post of st 3 sts back in round below (around post of marked Fhdc from Round 1). *Hdc in each of next 4 sts of current round, FPtr diagonally backwards around post of st 3 sts back in round below; repeat from * around.
(52 (56, 60, 64) (68, 72, 76) hdc, and 13 (14, 15, 16) (17, 18, 19) FPtr sts) – (65 (70, 75, 80) (85, 90, 95) sts in total)
Round 3: *Hdc in each of next 4 sts, sk FPtr; repeat from * around.
(52 (56, 60, 64) (68, 72, 76) hdc)
Round 4: *Hdc in each of next 3 sts, FPtr diagonally backwards around post of last FPtr 2 rounds below, hdc in next st; repeat from * around.
(52 (56, 60, 64) (68, 72, 76) hdc, and 13 (14, 15, 16) (17, 18, 19) FPtr sts) – (65 (70, 75, 80) (85, 90, 95) sts in total)
Round 5: *Hdc in each of next 3 sts, sk FPtr, hdc in next st; repeat from * around.
(52 (56, 60, 64) (68, 72, 76) hdc)
Round 6: *Hdc in each of next 2 sts, FPtr diagonally backwards around post of last FPtr 2 rounds below, hdc in each of next 2 sts; repeat from * around.
(52 (56, 60, 64) (68, 72, 76) hdc, and 13 (14, 15, 16) (17, 18, 19) FPtr sts) – (65 (70, 75, 80) (85, 90, 95) sts in total)
Size Newborn proceed to Decrease Round
Round 7: *Hdc in each of next 2 sts, sk FPtr, hdc in each of next 2 sts; repeat from * around.
(- (56, 60, 64) (68, 72, 76) hdc)
Round 8: *Hdc in next st, FPtr diagonally backwards around post of last FPtr 2 rounds below, hdc in each of next 3 sts; repeat from * around.
(- (56, 60, 64) (68, 72, 76) hdc, and –(14, 15, 16) (17, 18, 19) FPtr sts) (- (70, 75, 80) (85, 90, 95) sts in total)
Sizes Baby and Toddler proceed to Decrease Round
Round 9: *Hdc in next st, sk FPtr, hdc in each of next 3 sts; repeat from * around.
(- (-, -, 64) (68, 72, 76) hdc)
Round 10: *Hdc in each of next 4 sts, FPtr diagonally backwards around post of last FPtr 2 rounds below; repeat from * around.
(- (-, -, 64) (68, 72, 76) hdc, and –(-, -, 16) (17, 18, 19) FPtr sts) (- (-, -, 80) (85, 90, 95) sts in total)
Sizes Child and Teen proceed to Decrease Round
Round 11: Repeat Round 3.
(- (-, -, -) (-, 72, 76) hdc)
Round 12: Repeat Round 4.
(- (-, -, -) (-, 72, 76) hdc, and –(-, -, -) (-, 18, 19) FPtr sts) (- (-, -, -) (-, 90, 95) sts in total)
Size Adult proceed to Decrease Round
Round 13: Repeat Round 5.
(- (-, -, -) (-, -, 76) hdc)
Round 14: Repeat Round 6.
(- (-, -, -) (-, -, 76) hdc, and -(-, -, -) (-, -, 19) FPtr sts) (- (-, -, -) (-, -, 95) sts in total)
Size Adult Large proceed to Decrease Round
Decrease
Dec Round: Work 1 hdc-dec in every 4-st repeat around the final round, placing it directly after the FPtr sts of the round below to ensure they continue to slant in the correct direction, don’t forget to sk the FPtr themselves.
Psst.. If you’d like to have each decrease round written out in full for every size, the full PDF version of this pattern is available from my shops.
Finishing
Final Sts (All Sizes): Sc in next st, sl st in next st to finish.
Fasten off.
Weave in all ends, use beginning tail to join gap between foundation sts in Round 1.

I hope you enjoyed making the Cable Swirl Headband as much as I enjoyed designing it! If this Crochet headband earns a permanent spot in your winter wardrobe, I’d love for you to share the love!
Pin this free crochet pattern to Pinterest so you can find it again later, share your finished ear warmer in the Creative Confident Crocheters Facebook Group, or post it on social media and tag me so I can admire your work. And if you’re on Ravelry, don’t forget to add your project there; seeing your versions is genuinely one of the best parts of my job!
Happy Stitching! 🧶 Don’t forget to check out these other Free Crochet Patterns perfect for Wintry Weather!